


Project Management
Introduction
The initial version of ST was based on a single data repository initialized at the first start of the system, and reloaded each time the system was activated. This was in line with the idea of a desktop tool for the acquisition of knowledge, a sort of personal bookmarking system on steroids.
Later on, ST became under all aspects a fully-fledged knowledge management and acquisition platform; as a consequence, starting from version 0.7 Semantic Turkey was given the capability to manage different projects. However, the idea of a desktop system (even if based on a client/server architecture for technical reasons) still persisted, and thus projects could be loaded one at a time.
With the progressive adoption of the ST server as a Knowledge Management Service Platform in different scenarios (see, for instance, the VocBench project or the INSEARCH topic-based Information Retrieval system) even the idea of a single managed project was becoming too limiting. Thus, from version 0.10 the ST server has been granted the capability to manage different projects in parallel, to allow for different clients to access different projects open on the same ST instance, but also to establish more complex read/write access permissions among them, so that data from one project could be made available inside another project.
This document covers the project management capabilities of ST as perceived from its Firefox client, which is still a single-project management system (the multi-project capabilities introduced in vesion 0.10 allow multiple firefox clients to connect to different open projects). The more advanceds features of the multi projects system offered by the server are explained in the project_management section of the development manual.
This section explains how to:
- create a new Project from scratch or from an existing rdf/owl file
- change the current project by opening another one
- import an existing project previously exported from another installation of Semantic Turkey
- delete a project
- clone a project
- save the current project with a different name
- export the current project
Types of projects
In Semantic Turkey there are two types of project:
- Continuous Editing
- Save2Store
Continuous Editing are those projects that do not need any explicit action to save changes because each data update is immediately persisted in the datastore
Save2Store are those projects that require an explicit action to be saved, as modifications are not automatically saved
When users create a new project, they must choose the type of the project (Continuous Editing or Save2Store) and this decision cannot be changed later. Not all connectable triplestore technologies (or their configurations) are compatible with both modalities. In case, Semantic Turkey will restrict the choice automatically.
Projects Window
Projects are managed by means of a dedicated Project Management window. It allows to list all available projects and perform different operations on them.
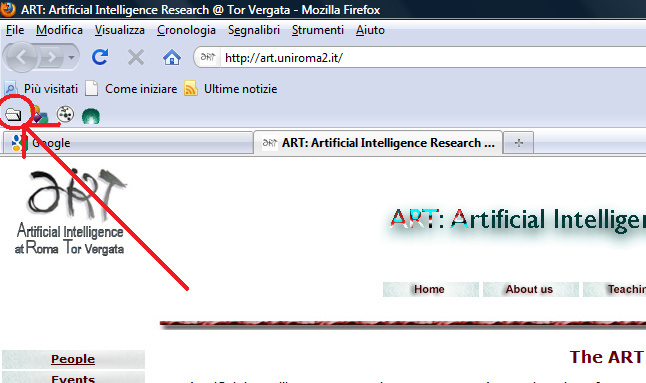
There are two ways to open this window:
- click on icon in the Semantic Turkey icon bar
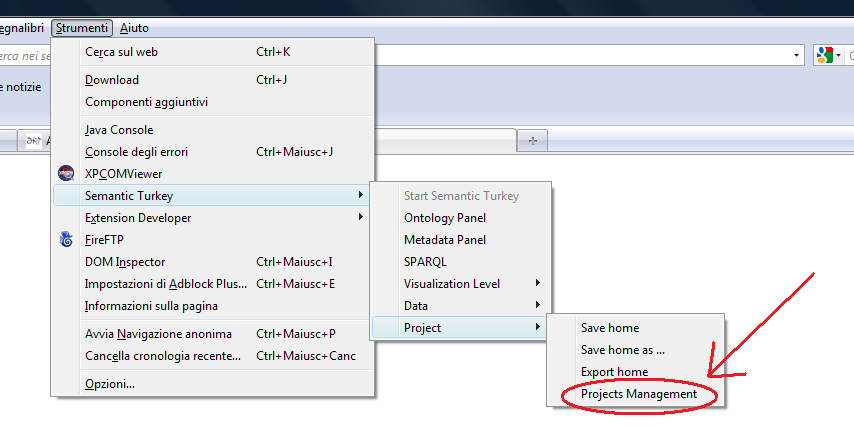
- Select the menu "Projects Management" in "Tools->Semantic Turkey->Project"
This is how the project management window looks like(in this case, two projects have already been created).
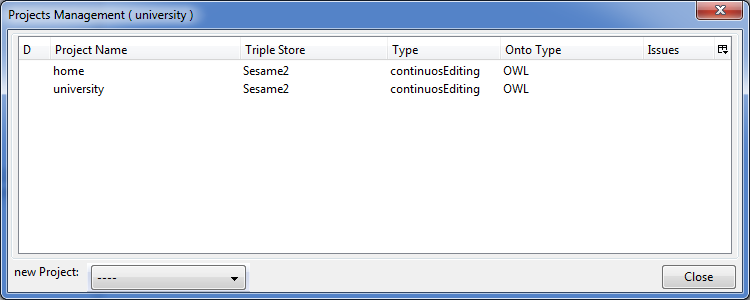
In the upper part there is a table showing all the available projects with their info
The columns of the table are:
- D : checked for the default project
- Project Name : The name of the project
- Triple Store: The identifier for the ontology manager used in the project (i.e. the triple store technology being adopted)
- Type : The type of the project (Continuous Editing or Save2Store)
- Onto Type : the type of the dataset, it can be an OWL ontology or a SKOS or SKOS-XL concept scheme
- Issues : Show if the project has any kind of problems
From this window the following actions are available:
- Open an existing project
- Import a previously exported project
- Create a new Project
- Delete a project
- Clone a project
- Restart Firefox
Open an existing Project
There there two ways to open a project listed in the table :
- double click on the name of the project
- Right click on the selected project and then click "Open the selected project"
Import a Project
To import a previously exported Project, by first select "Import" from the lower combobox and the following window should appear
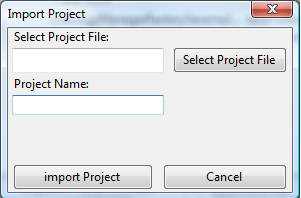
After pressing the button "Select Project File", select from the file system the file containing the exported project, then add a name for the Project under the label "Project Name" and click on the button "import Project". If the selected file contains a valid project, it will be imported and opened
Create a new Project
To create a project click on "New Project" in the lower menu. You will be prompted with a window like the one in figure below:
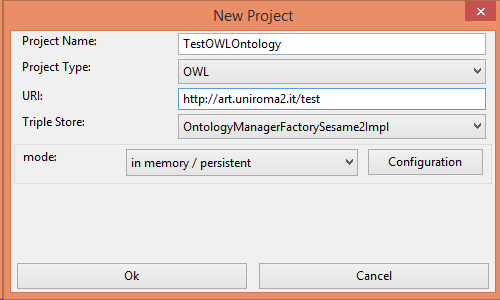
Here you have to fill (in order of appearace) the following fields:
- Project Name: the name of the project. Any name which can be stored as a folder in the file system is a valid project name.
- Project Type: it can be OWL, SKOS or SKOS-XL depending on the model (OWL for ontologies or SKOS/SKOS-XL for thesauri) you want to adopt for your data.
- URI: any valid ontology URI is accepted. If the uri ends with no trailing # nor /, the default namespace will end with a #. If the URI ends with /, the default namespace will be the same as the baseuri.
- Triple Store: if more connectors are available, it is possible here to choose (from the combo box) which triple store technology to adopt for your project. ST comes bundled with a Sesame2 connector.
- mode: a single connector may allow for different connection modalities, or even different kind of triple stores. Each of them can be configured with technology-specific parameters which are declared by the connector itself. See the next section for details.
Once all of the fields have been filled by the user, the project can be created by clicking on the "Ok" button.
Model Configuration
A single connector may allow for different connection modalities, or even provide access to different kind of triple stores. Each of them can be configured with technology-specific parameters which are declared by the connector itself
In particular, Sesame2 offers three kind of connections:
- in-memory: a repository managed completely in-memory. The two options provided by the connector (persistent/non persistent) specify which kind of project will be managed. In the first case (persistent) the data will be always saved in real time, with user modifications, in the latter case it will require for the project to be explicitly saved
- native: this corresponds to a repository using dedicated on-disk data structures for storage
- remote: allows for remote connection to an existing repository hosted on a sesame server (and the triple store details are omitted, as they have been dealt with when creating the server)
The Configuration menu provides a list of properties which depend on the chosen triple store. These properties are declared by the connector itself and are thus dynamically fed to the user interface. The documentation for the parameters of Sesame2 is available in a dedicated section of the Sesame2 user manual.
However, a tooltip over each of the shown parameters should provide enough explanation to understand its use.
Delete a Project
To delete a project single click on an existing project in the table and then click on "Delete the selected project" in the context menu (right click).
It is not possibile to delete the current project
Clone a Project
To clone a project single click on an existing project in the table and then click on "Clone the selected project" in the context menu. This window should appear:
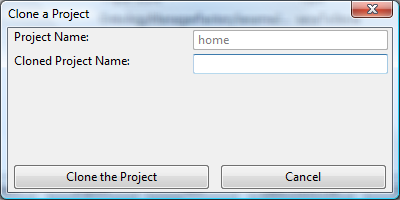
In this window input the new name of the procjet. In the first field there is the name of the project your cloning
Set the default Project
The default Project will be opened as soon as Semantic Turkey is started
There there two ways to set the default project :
- left click in the first column (the one with the title "D") next to selected project
- select "set the selected project as the default one" by right click on a project
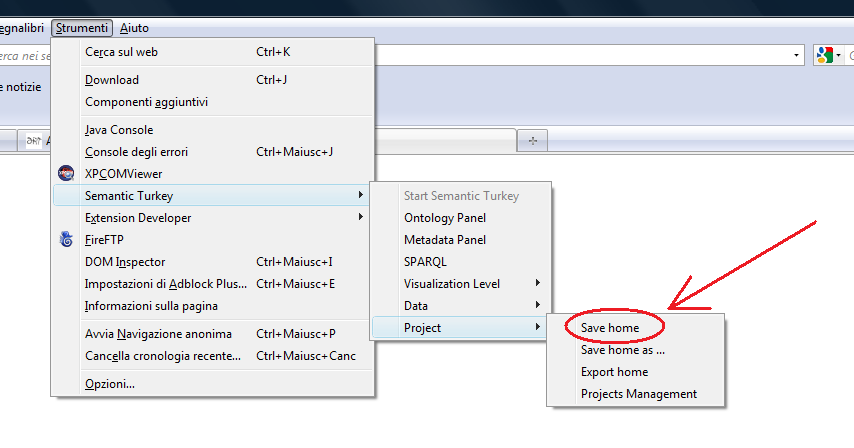
Save a Project
The projects that are created with the mode "Save2Store" must me saved explicitly. To save them click on "Tools->Semantic Turkey->Project->Save PROJECT_NAME" where PROJECT_NAME is the name of the current project. If the current project is a "Continuous Editing" one, the above menu is disables
Save As ... a Project
To save a project with a different name click on "Tools->Semantic Turkey->Project->Save PROJECT_NAME as ..." where PROJECT_NAME is the name of the current project.
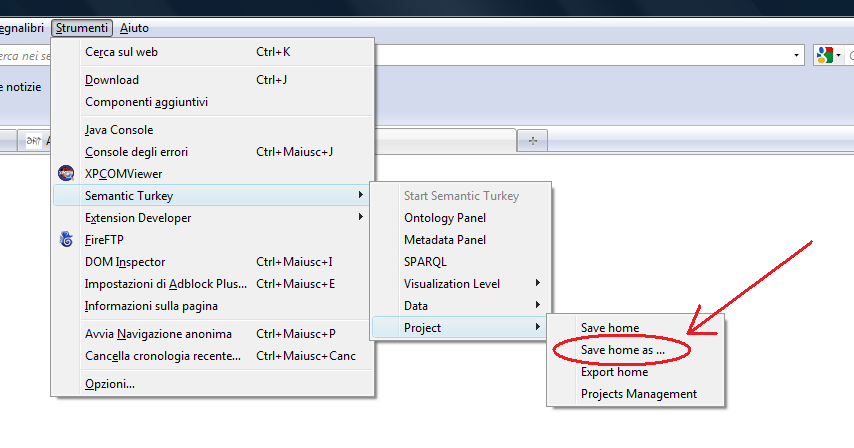
The following window will appear:
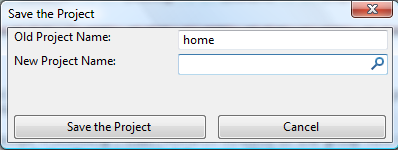
In this window just type the new name and then press "Save The Project" or Enter
Export a Project
To export a project click on "Tools->Semantic Turkey->Project->Export PROJECT_NAME" where PROJECT_NAME is the name of the current project.
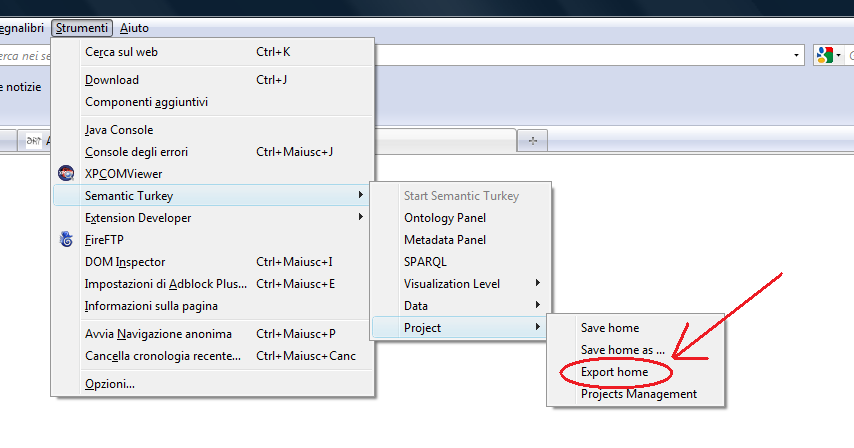
The following window will appear:
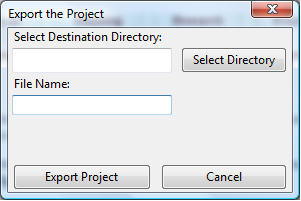
In this window select the destination directory using the button "Select Directory" or by typing in the field on its left, then specify the name of the file in the field below. Then press "Export Project"